
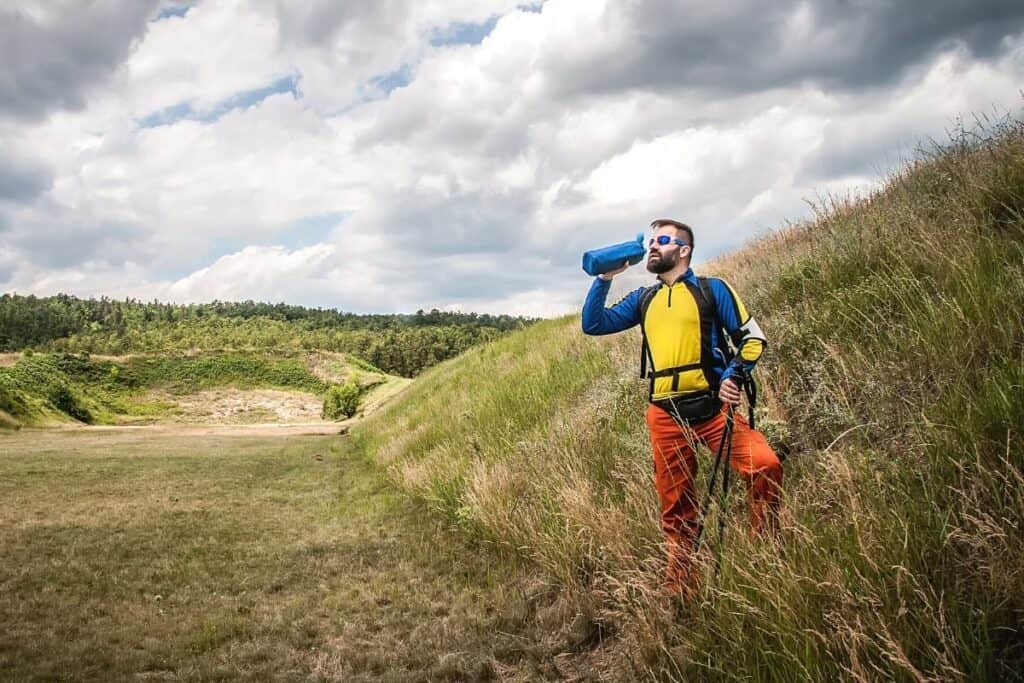
Hikers can get pretty dehydrated when they’re out on the trail. On hot summer days when the sun is blazing and the shade of the trees just isn’t much help at all, a cold bottle of water may be just the thing a hiker needs to cool down. But how can you keep water cold when you’re out on the trail?
The best approaches to keeping water cold on a hike involve using a thermos, freezing it overnight, using an icepack, or wrapping the water bottle in an insulated material.
With that in mind, let’s take a look at the pros and cons for each of these approaches to learn how to best apply them!
Freeze Your Bottle Overnight
Freezing your bottle overnight can prove a great way to keep your water ice-cold for particularly exhausting hikes!
Just make sure to prep it properly before putting it in the freezer, as the water expands when it gets cold i.e. don’t put too much water in it!
Advantages
Whereas an ice pack will cool your water from the outside, freezing your bottle provides a sizeable chunk of ice inside your bottle. With a frozen water bottle thawing in your backpack pocket, you’ll be drinking ice water throughout the day, just like if you had an ice maker.
A single large piece of ice takes longer to thaw, helping you space out your drinks and make your water last longer.
Many hikers are tempted to drink their whole water supply in one sitting, leaving them parched later on in the day. With most of your water frozen, you’ll have to be patient!
Before you put your water bottle in the freezer, make sure to pour a decent amount out. A full water bottle will expand as it freezes and possibly even burst under pressure. And a broken water bottle is no water bottle at all 😉
Disadvantages
There aren’t many disadvantages to this technique, but some hikers may find some distasteful elements.
For example, freezing your bottle overnight keeps it extremely cold during the day, which some hikers may not like. Sometimes, warm cold water is easier to drink and doesn’t come with the risk of brain freeze.
Colder water bottles also often form a thin layer of condensation, which can mix with dirt on your hands and get your water bottle muddy. To help solve this problem, you can try wrapping a light cloth around your bottle to help absorb the condensation.
Hikers also may be too impatient to wait for their bottles to thaw out, and having nothing but frozen water when you’re dehydrated is never a good thing. For this reason, you might want to keep your bottle somewhere the light can touch it, warming it up more quickly.
Buy a Thermos
Buying a thermos is probably the most efficient way to keep your water cold while you’re out on the trail.
It has the added advantage of being environmentally friendly, reducing your total garbage output by cutting out all those pesky plastic bottles.
Advantages
Thermoses are specially-made to keep water at a consistent temperature throughout the day. They’re durable, reusable, and effective.
To really keep your water cold, put your thermos in the refrigerator overnight, and take it out in the morning. Storing it in a shady space like an outside pocket can keep it within reach and keep it cold longer.
One thing to keep in mind is that freezing your metal thermos is an absolute no-go. Metal thermoses can’t expand like plastic and are thus more prone to breakage. Save yourself a midnight scare, and keep your thermos in the fridge rather than the freezer.
Lastly, thermoses are reusable and durable. You might be thinking: why does it matter if I buy a new water bottle? They only cost a few cents – a thermos can cost up to $25!
However, if you’re going on ten hikes a month, using two water bottles each time, that’s twenty bottles per month.
Let’s say each bottle is fifty cents; after ten months, that’s $100 spent on bottles of water. A thermos will last you years and cost less than a dime to refill each time.
A great option to consider would be something like the Iron Flask. It’s extremely durable and is a champ at keeping beverages cold!

A premium insulated stainless steel thermos that will keep beverages cold for up to 24 hours! It also comes with three different lid options to suit your personal preference.
Disadvantages
Weight is a significant factor to consider when buying a thermos. Although the best thermoses are metal, you can also buy lightweight plastic ones to keep your total carry weight manageable.
A metal thermos will insulate better than a plastic one, but plastic thermoses can be insulated with clothing or shady pockets to keep them colder longer.
Metal thermoses can also get a little clunky, especially if you buy the larger ones meant for keeping liquid hot. To avoid this issue, check the weight and functionality of your products before you buy.
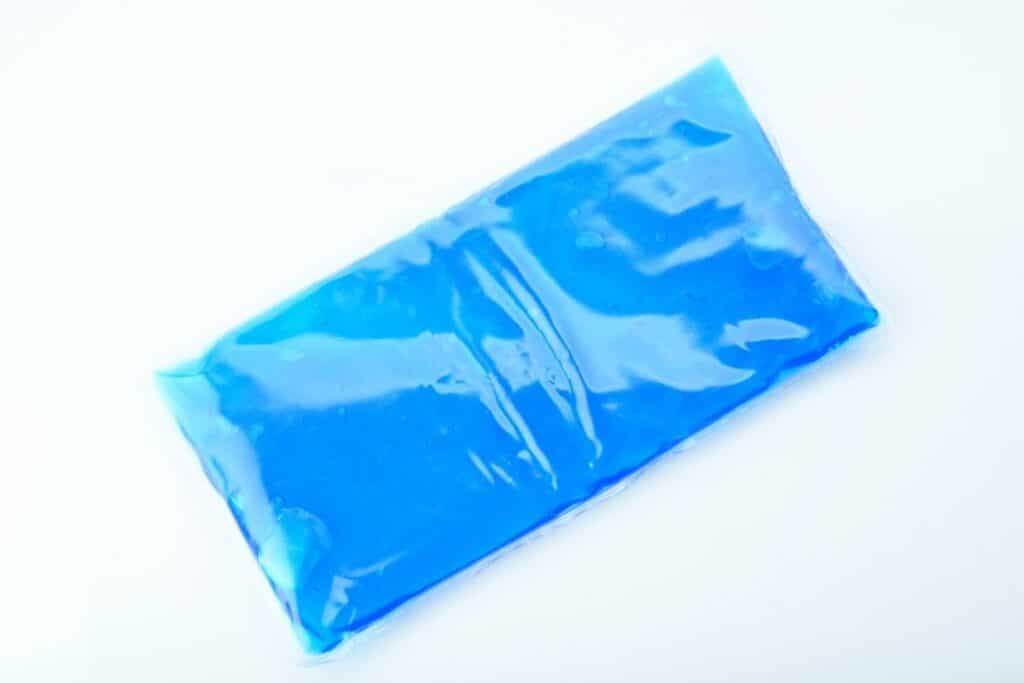
Take an Ice Pack
You can buy an ice pack at almost any store these days, including gas stations and convenience stores.
They are a relatively lightweight and reliable way to keep your water cold and refreshing through a long hike. Better yet – they’re also great for keeping any food snacks cold as well!
Advantages
Ice packs are easy and cheap. If you’re strapped for cash and can’t afford an expensive thermos, you can throw them in the freezer the night before a hike and take them along with you in the morning.
Ice packs are a sure-fire way to keep drinks cold and usually take around three to four hours to melt completely.
To up the effect out of your ice packs, you can pack them in an insulated lunch box along with your water bottles. This will keep the temperature down and elongate the amount of time the pack takes to melt.
If you’re really looking to pinch a few pennies, you might try making your own ice packs. Simply take one or two Ziploc bags, fill them with water, and freeze them overnight. In the morning, they’ll be ice cold and ready to use.
Disadvantages
While it’s relatively uncommon, I have known a few ice packs to burst under pressure. Naturally, mingling your ice pack with something sharp in your bag will increase the chances of a rupture, so be mindful of where it’s placed.
Homemade ice packs are more vulnerable to malfunctions, so make sure to keep them at the top of your bag or in a protected pocket.
Some ice packs contain a blue liquid, which can stain your backpack and clothes fairly severely in the event of a break. To prevent this, wrap your ice pack in a cloth or rag to reinforce the outer layer.
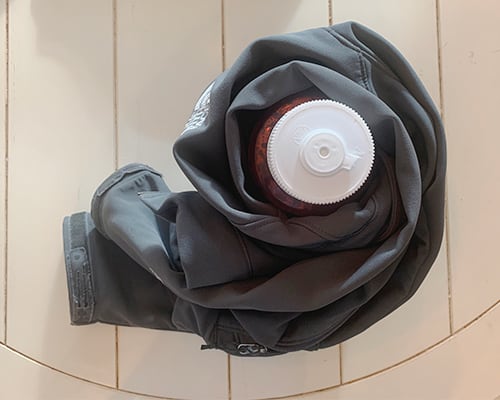
Wrap it in Clothes
This is a somewhat lazy and relatively inefficient way to keep your water cold, but it still works pretty well!
Wrapping your bottle in clothes insulates it and keeps its temperature down, leaving it at a pleasant medium chill throughout the day.
Advantages
There’s nothing easier than wrapping your water bottle in your spare jacket or raincoat. It’s quick, simple, and can even help you save space by compacting and combining items for storing that you would have had in your hiking bag anyway!
Additionally, keeping your bottles in clothes will prevent brain-freeze by preventing your water temperature from falling below a critical point. So, drink as fast as you want!
Frozen bottles can also be wrapped in clothes to keep them frozen longer, so if it’s an icy beverage you want, go ahead and try this method.
Disadvantages
Wrapping a bottle in clothes is not nearly as effective as freezing a bottle or buying an ice pack, as all it works to do is slow the rate of warming. If you don’t freeze your bottle overnight, it will become warm relatively quickly.
Also, digging your bottle out of a pile of clothes just for a sip of water is never fun, not to mention all the time you’ll lose having the re-pack the clothes you took out.
This method is only really recommended for extra water bottles you’ll be getting to later, at a campsite, or at the end of your trip.
Combine Methods!
Aside from freezing a thermos, all of these cooling methods can be combined to keep water cool as long as possible.
On my trips, I like to refrigerate two thermoses overnight and throw an ice pack in the freezer. When I get up to pack, I’ll put one thermos in a mesh pocket on my bag and the other in a bundle of clothes inside my backpack.
If I’m really in dire need of refreshment, I’ll even throw a few ice cubes in one of the thermoses!
You can mix and match these methods to produce the most weight and space-effective solution for keeping your drinks chilled.
All in All
All in all, water can be kept cold in few ways, but the best way is to simply buy a thermos. If you want a truly effective solution, you can combine methods and keep yourself sipping cool water throughout your whole hike.
But remember – never freeze a bottle that’s 100% full. It will break, you’ll be sad, and you’ll need to buy a new bottle!
Related Articles
If you found this article helpful, then make sure to take a look at the articles linked below as well!