
If you’re new to tubeless tires, then you may find yourself wondering if it’s possible to patch a tubeless bike tire. Given that no one wants to get stranded and find themself walking their bike home, this is a completely reasonable question!
Tubeless bike tires can be patched using tire plugs to solve the majority of flat tires. In the event that residual tire sealant and a plug are not enough to seal a hole, a tire tube can also be used to patch the flat tire.
As easy as that sounds, there are of course a few more tips, tricks, and tools that you’ll want to make sure that you have on hand to make the repair process a smooth one!
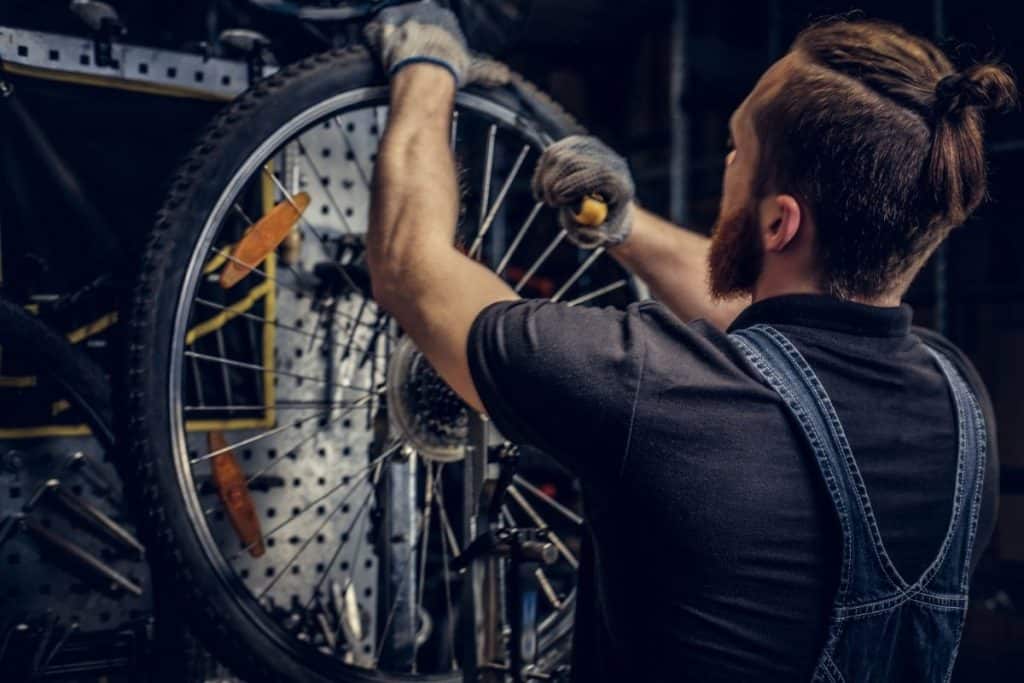
Understanding Tubeless Tires
Tubeless tires are unique because, as the name states, they run without an inner tube. Instead, the tires seat and seal to the rim using a liquid sealant.
Similar to the mechanism used by a car’s tires, tubeless tires have a history of success backing them up, and they are in many cases actually an upgrade over clincher tires with inner tubes.
Tubeless bike tires offer a whole host of benefits compared to the traditional clincher type tires paired with an inner tube. These tires offer lower rolling resistance while also being more puncture resistant.
Punctures can still happen though, and not every tire puncture is made equal. Knowing how to repair a tubeless tire will help extend the life of the tire, and may very well let you ride out of a situation you might otherwise have simply walked away from.
The same sealant that helps to seat the tire onto the rim also acts as the first line of defense against small punctures. As small punctures occur, the liquid sealant will seep into the hole all on its own, starting the patch process immediately after tire penetration.
This is so reliable, in fact, that you may not even notice that you had a puncture in the first place until after your ride is over. New sealant patches will appear as small wet spots on the tire, or if you’re stopped, you may notice a few bubbles of it coming out as it fills the hole.
Unfortunately, you will likely find that some punctures are too big or too oddly positioned to effectively be patched by the sealant alone. In such cases, another fix must be applied so you can get back on your way.
Option 1: Tire Plugs
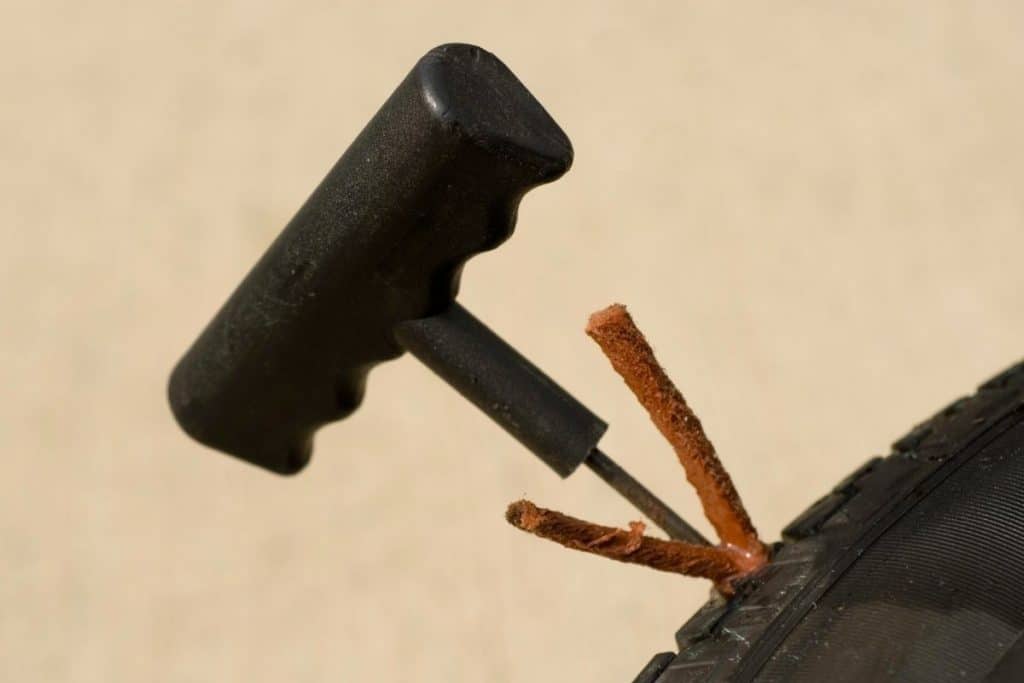
Tire plugs are another great option for plugging stubborn holes in tubeless tires that sealant just won’t take care of! Tire plugs are thin strips of rubber meant to be inserted directly into the hole in the tire.
With the added material and decreased hole size, the sealant may be able to more effectively close the hole, and even without sealant, a tire plug can often be enough on its own to seal your tire and allow you to continue on your way.
To plug a tire, start by finding the exact location of the hole. Because the plug must go into the puncture directly, it is extremely important to find the precise point where the tire has been punctured.
To help you find the hole, you can use a small amount of water applied to the surface of the tire, which will visibly bubble around the air leak. Also, try listening for the audible hiss of escaping air and looking for visible foreign objects on the tire to further help you locate the leak.
Once you have located the hole in your tubeless tire, prepare a tire plug. Typically, this starts by threading a tire plug through the application tool.
Once the plug has been properly prepared, align the tip of the application tool with the hole in the tire. Firmly apply pressure to the plug applicator, pushing the plug into the hole until approximately half the plug on each end hangs out from the hole.
Inserting the tire plug may be difficult. This is typical, and can potentially be helped by higher tire pressure. In general, the less air left in the tire, the tougher it will be to insert the plug and reestablish the airtight seal of the tire and rim.
At this point, the plug has been applied, and if done properly, you should be able to pump your tire back up.
Cut the remaining ends of the plug off, leaving just enough for the plug not to fall through the tire. Your tubeless tire should be ready to rock and roll once again. I love this kit by Sahmurai as it provides everything you need in a simple all-in-one kit that’s also easy to store.

The Sahmurai SWORD (Super Wicked Original Repair Device) is a tubeless mountain bike repair kit that conveniently and safely stores in the handlebars of your mountain bike. The kit includes a fork tool, a reamer tool and 5 plugs in a single packaging tube. The plugs can repair holes from 3.5mm to 5mm in size.
Option 2: Inner Tubes
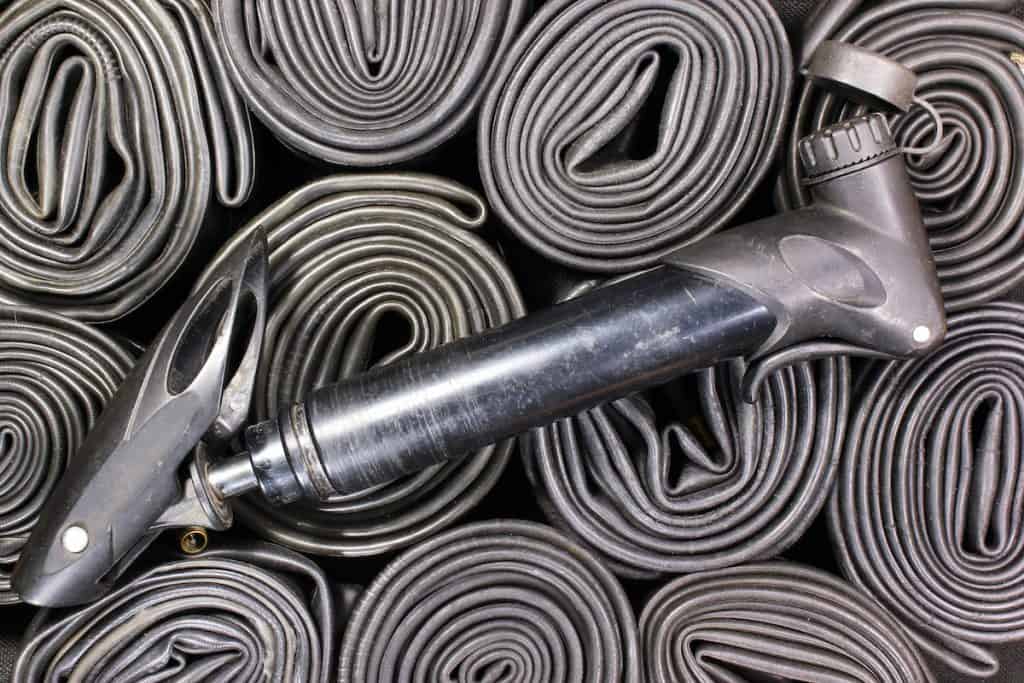
Despite being built and designed to run without inner tubes, you can absolutely run an inner tube under a tubeless tire if you find yourself in a pinch.
In fact, I make sure to keep a spare strapped to my bike frame at all times as a backup in case of an epic blowout that’s not patchable with plugs.
To begin the process of changing your tubeless tire to an inner tube, start by removing the tubeless valve stem from the rim. Put this in a safe location, as you’ll need it again should you ever wish to return the tire to standard tubeless operation.
With the tubeless valve stem removed, simply seat the new tube onto the rim, passing the valve stem through the appropriate hole. Carefully work the tire back onto the rim, then inflate to the recommended tire pressure.
Be sure not to pinch the tube as you seat the tire, as this can compromise the air-tight nature of the inner tube in what is called a pinch flat.
Although this method negates the benefits of your tubeless tires, being able to finish your ride instead of having to end the ride early can be a lifesaver, and it will also save you from the dreaded walk of shame beside your bike.
Packing a couple spare inner tubes is a relatively cheap and extremely effective way to prepare yourself for any damage which may occur in the course of your regular riding.
Additional Considerations
As with any flat tire, losing too much air can make repairing a hole much more difficult!
If your tubeless tire is no longer properly seated on the rim, a mini CO2 cartridge can be extremely helpful in reseating the tire bead on the rim, and can thus be a beneficial piece of kit to ride with.
Otherwise you’ll find yourself spending a while using a mini pump to get it inflated!
Another issue you may encounter is sidewall punctures. If the tire puncture is located on the sidewall of the tire, you may need to approach the repair in a multi-step manner.
In such cases, an inner tube will typically allow you to continue riding, however, a tubeless tire patch should be applied after the ride to properly repair the tire.
Final Thoughts
Tubeless tires are a wonderful piece of cycling innovation. They can involve much less regular upkeep than other tire styles, and the included sealant drives down the likelihood of needing to repair a flat in the first place.
Next time you are faced with the unfortunate situation of a flat tubeless tire when you’re riding, just remember these quick and easy ways to repair flat tubeless tires. An ounce of prevention is worth a pound of cure, so as always, be aware of your riding environment and potential hazards to your tires.
Remember to pack extra sealant, spare inner tubes, tire plugs, and an air pump on all of your unsupported rides. Being able to effectively resolve your tire troubles on your own will serve you well, and likely can lead to more time for you to enjoy what you came to do: ride your bike!
Before you go, make sure to also take a look at my following tire-related articles that answer many other common questions!