
If you’ve ever looked at mountain bike specs you probably noticed that many of the frame measurements terms don’t have an intuitive or obvious meaning. For example, what’s the difference between a bike’s reach and stack?
To help clear things up and allow you to effectively understand how to compare bikes, I went ahead and created this visual guide that shows how each measurement is calculated. The guide also details what each of these measurements mean for you as a rider as well!
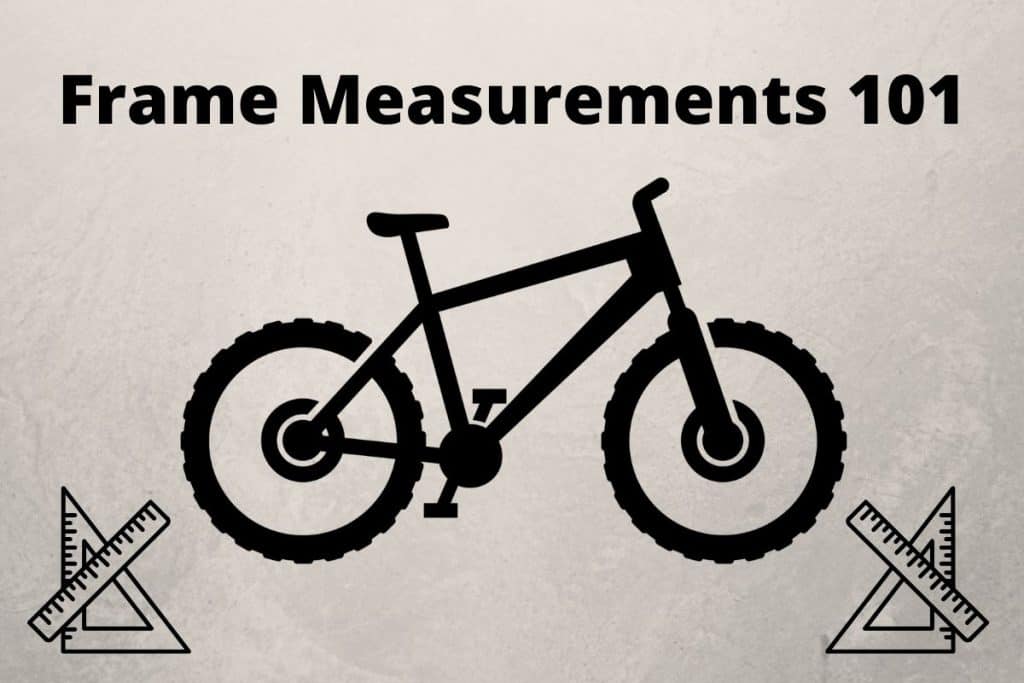
Without further ado, let’s jump in to see what all of these mountain bike frame measurements mean!
Seat Tube Length

It’s the distance between the center of the crank and the seat tube top. Some mountain bike models use the seat tube length to define the bike sizes. Still, others name them as either small, medium, or large. The right length will help you achieve a suitable saddle height.
Line up your measuring tape with the bottom bracket center and measure along to the top section of the seat.
However, it might be challenging to use these measurements in all bikes since some models have a considerable extension of the seat tube over the top junction. Besides, others have kink or seat mast.
Seat Tube Angle

With the complexity in frame shapes and suspension design, it’s somewhat challenging to measure seat angle. The geometrical charts list both actual and virtual gradients. To get the former, you lay the gauge on the frame. However, in modern bikes whose seat tube starts in front of the bottom bracket, you need to find the latter angle.
So, if your seat tube has a kink, to measure the effective angle, follow the line from the center of the bottom bracket to the middle section of the seat post. Line it up with your phone to take readings.
If you have a straight seat tube, measure the angle by lining up your smartphone accordingly to take the clinometer app’s figures. Keep the bike in a vertical position on a horizontal surface to get accurate readings.
Irrespective of how you measure it, you need a seat angle that supports the right posture for effective pedaling while seated. A steeper angle puts the saddle directly above the bottom bracket so you can paddle more easily. Further, putting your center of gravity a little bit forward makes it harder for the wheels to wander around or lift while climbing mountains.
Standover Height

You should be in a position to straddle while on your bike without straining. Standover height is the distance between the top tube frame and the ground. The measurement varies in a mountain bike since most have a slanted top tube.
To find your bike’s standover height, stand in your riding position with your feet down. Using a tape measure, take readings of the distance from the ground to the top tube.
Ensure that you wear your riding shoes while measuring to get an accurate size indicator.
Effective Top Tube Length

Simply put, the effective top tube length is the length between the seat and the head tube.
Today, most bikes have a sloping top frame. Hence although the bike geometry chart often includes actual tube length, you need to take the virtual dimensions.
You achieve this by measuring the distance between the top center of the head tube and the Seatpost centerline. You may need to use the spirit level or the clinometer app for accurate horizontal measurement.
Head Tube Angle

You also need to measure the angle between the front fork and the ground to understand how the bike will steer. Using a straight edge, line up your phone with the bottom and top head tube’s centermost part.
Besides, if your bicycle has straight fork legs with no angle at the crown, then the legs angle is similar to the head tube angle. You can also get the measurements by lining up your clinometer app with the steerer extension over the head tube.
A bike with a steep tube angle steers slowly with precision, and it will wander less while climbing. Additionally, it feels more responsive when riding on flat terrain and reacts excellently to the steering action. However, when you increase the speed further or go down a slope, the steering becomes harder to manage.
On the other hand, with a slack head tube angle, you require more energy to pull your weight forward while climbing. Your bike is also prone to wandering. Still, it feels more stable while cycling down the hill.
Wheel Base

A frame’s wheelbase is the length from the front to the rear axle. Set the fork straight and measure the distance between the two points. You may have to repeat this severally to ensure that you have the right size.
Alternatively, take measurements for both wheels and find an average for a more accurate number, especially when the fork isn’t straight. It helps determine your ride quality.
A more extended wheelbase gives you excellent stability while descending at a higher speed, but you require more input at a slower pace. On the other hand, a shorter one helps you steer effortlessly through challenging trail. Nonetheless, it might be tough to control when the speed increases.
Bottom Bracket Height

It’s the distance from the crank spindle center to the ground. It’s relatively easy to measure, but you need to keep the bike straight up to get an accurate measurement.
It’s worth noting that your tires can slightly affect the measurement, and you may have to inflate them to the normal pressure.
This element affects how you handle your bike. A lower bottom bracket increases the center of gravity, giving you more stability. However, if it’s too short, you will begin to clip your pedals on several items when cycling on rough terrains.
Chainstay Length

Chain length is the horizontal measurement between the bottom bracket and the rear wheel axle. It’s relatively easy to measure using a ruler by placing it at the two points. This element notably affects your bike’s handling.
A shorter length adds to your bike’s playful nature. For instance, it makes it easier to lift the front ends while wheeling. Besides, it results in a shorter wheelbase so your bike can easily maneuver more agile terrains.
However, it may compromise stability while cycling down a hill and is more prone to lifting while climbing. Hence if you wish to cycle in hilly areas, consider a longer chainstay length.
Reach

Reach gives you a better indication of your most appropriate bike size. You get this by quantifying the horizontal distance from above the bottom bracket to the head tube’s top section. You can measure this using a spirit level.
Place a plumb line at the level’s edge and align it to the top of the head tube centerline. Move the spirit level back and forth until the plumb line intersects with the bottom bracket spindle center.
Alternatively, you can place the bike directly against a wall and measure the distance to the top head tube and the bottom bracket, then subtract them. A bike with a very long reach feels large. Still, it provides a natural steering feel since you place your hands behind the front axle. However, it extends the wheelbase.
Stack

Stack height indicates how high or low your handlebars will feel. You get this by measuring the distance between the bottom bracket and the head tube’s top part.
Alternatively, measure the bottom bracket’s height from the ground and subtract it from the floor’s distance to the top of your head tube.
This measurement primarily helps shorter individuals who want to ride a bike with higher wheels. It will also assist you in getting the right handlebar position, especially if you enjoy long rides.
If you found this article helpful, then you may also enjoy the following related topics as well!
Good Info